How to enable and use the Zapier integration
The Zapier integration allows you to automate your workflow by connecting Front with hundreds of other apps. Build Zaps that dynamically trigger when something happens in Front or that take action in Front based on events in other apps.
You must have Front company admin permissions to set up the integration.
Step 1
Click the gear icon on the top right of Front and into the Company settings tab, and select App store from the left menu.
Step 2
Select Zapier from the list of integrations. Click See details, then click Enable app.
You will need to complete this step before building your first Front Zap, otherwise you will encounter an error in Zapier.
Step 3
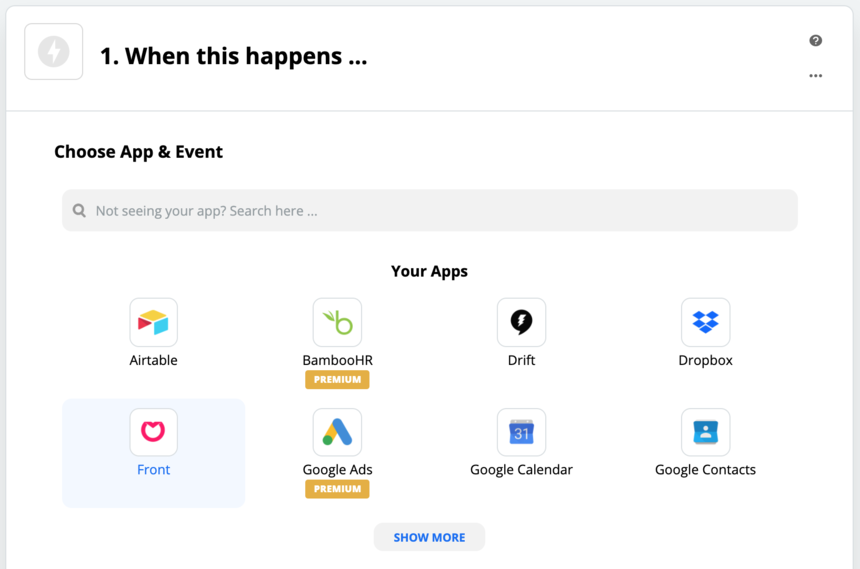
Start making Zaps! Log in to your Zapier account, and click on the Make a Zap! button. Choose Front as Trigger or Action app, along with your other desired apps.
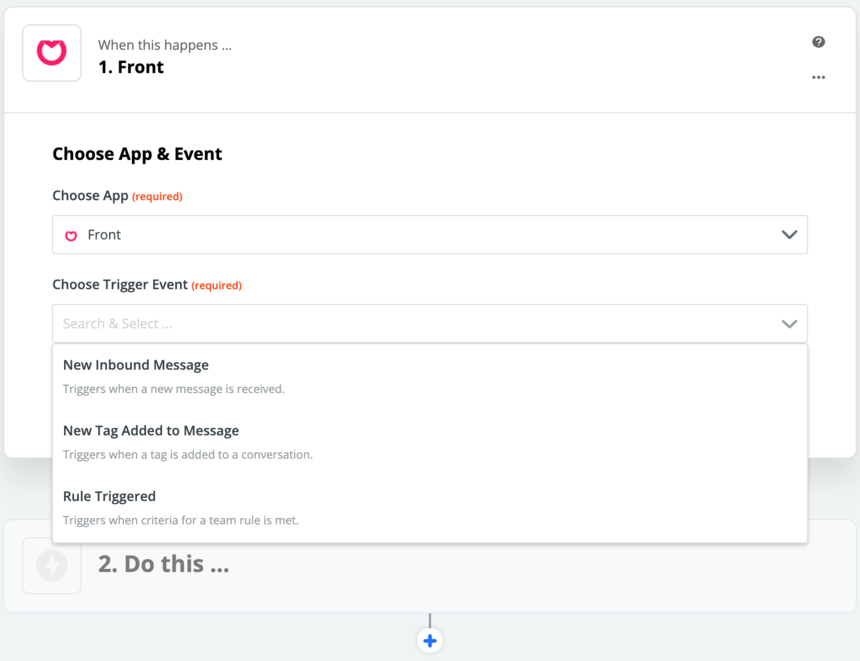
The first step is to choose a trigger event - this is something that will need to occur in Front in order for the Zap to start. Front's trigger events include activities such as sending or receiving messages, tags being applied to conversations, and rules being triggered.
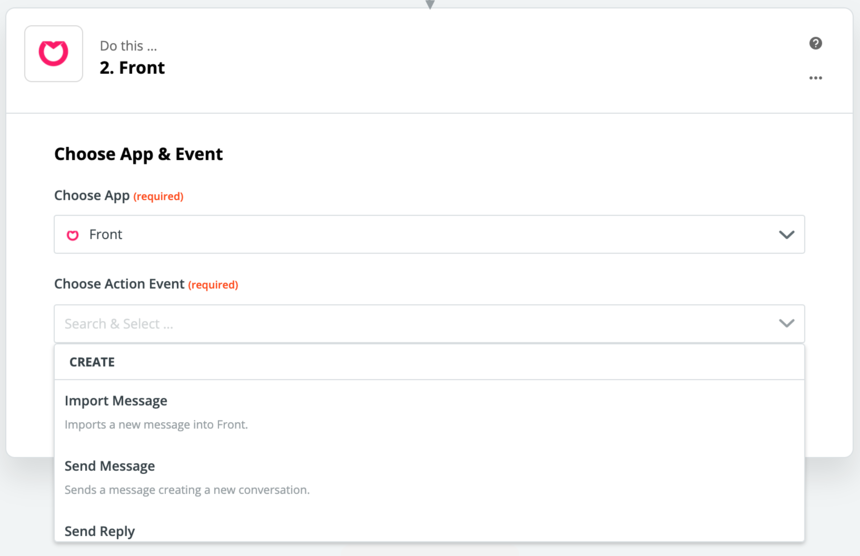
When a Trigger is activated by any app, a number of Actions can occur. Front Actions that can be performed include sending messages, modifying contacts or conversations, and performing lookups for contacts.
Upon activation of your Front-triggered Zap, a rule is automatically created in Front. You can view the rule by going into your Settings and selecting Rules. When you disable or delete a Front Zap, the related rule will be deleted.
Note: The Front <> Zapier integration does not currently support individual inboxes, as the Zapier OAuth token is only allowed to access shared inboxes.
If you need to create a Zap to work with an individual inbox, create an API token that has access to your individual inboxes, and utilize the Webhooks by Zapier Zap triggers and actions to issue API calls to Front.
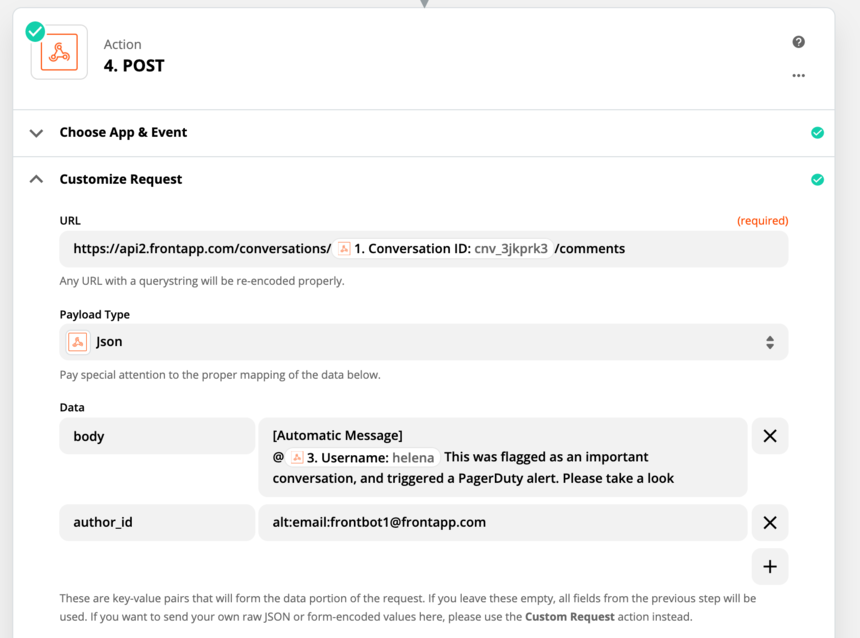
Even though posting a comment in Front isn't yet a built-in feature in Zapier, a workaround is however possible through the usage of our API.
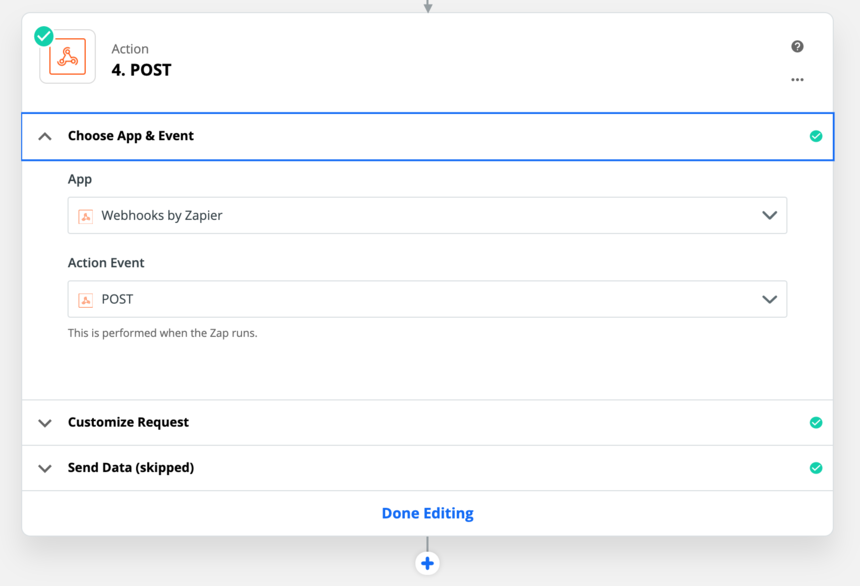
While configuring your Zap, pick the Webhooks by Zapier app, then the POST Zap action:
You will then have to configure a POST call to our /comments API endpoint, specifying a conversation ID (in this case, we are using the conversation ID that triggered the Zap):Make sure to add the necessary Authorization header to your call, and voilà! Your Zap is now ready to automatically post comments.Zapier can only access team resources. If you would like to create a Zap that targets individual resources, you can create an API token that includes the individual resources scope, then use webhooks within Zapier to accomplish your goal.
Zapier is integrated with Front as an API client. As an API client, calls it makes are subject to the same rate limit as other connected API clients and can impose the Front API rate limit on the Front account if excessive calls are being made.
This feature is available on the Growth plan or above. Some legacy plans may also have this feature.
In Zapier, you will see "Your plan does not include API access" when you try to connect to your Front account. Once you upgrade to Growth or above, you will be able to enable and use the Zapier integration.

