
Overview
The Asana integration allows you to link an Asana task to a conversation in Front, and browse Asana tasks right from your inbox.
You must have Front company admin permissions to set up the integration. Once enabled it can be used by any teammate.
How it works
There are a few key benefits of the Asana integration:
You can perform common actions, like creating new tasks or browsing existing ones, without leaving your inbox
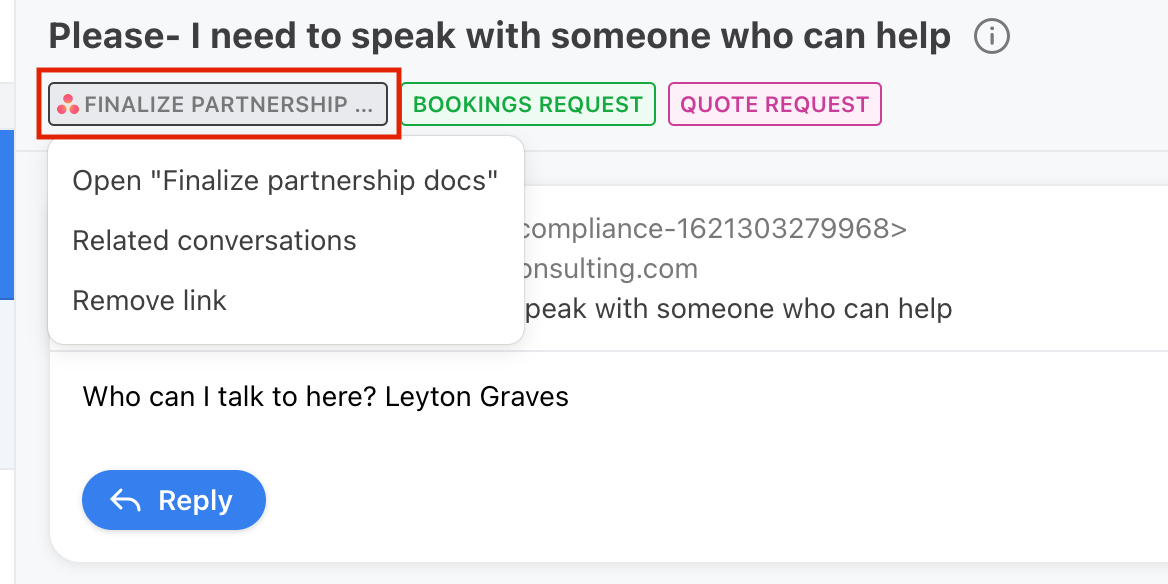
Once an Asana task is linked to a Front conversation, you can easily access it directly from Front
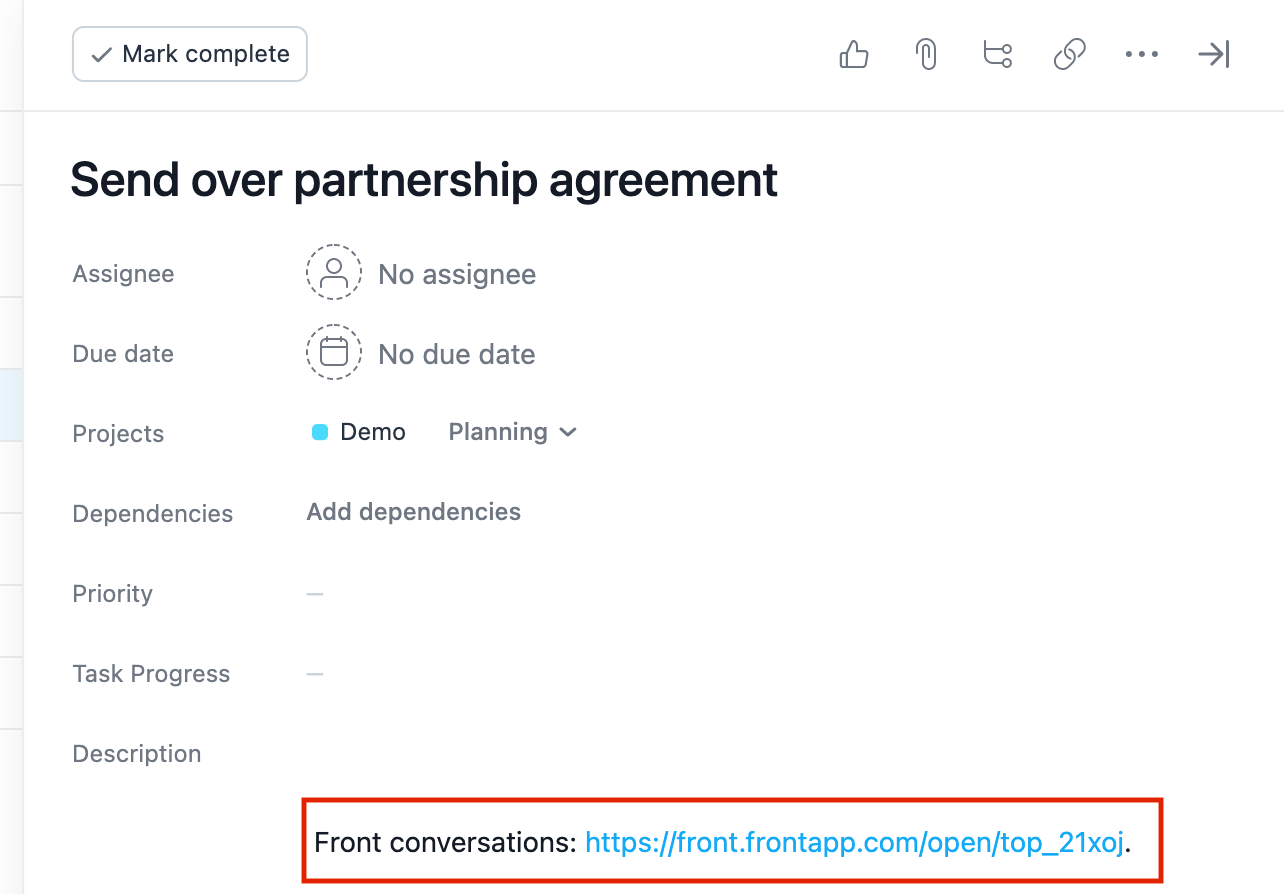
When an Asana task is attached to a Front conversation, a link back to all related conversations in Front will be added to the description of the Asana task
When the Asana task is completed, related Front conversations will automatically reopen to allow you and your teammates to follow up with any updates
Instructions
Admin steps
Note: If you were already using the legacy version of the Asana integration, you do not need to re-enable the new version (it will be automatically enabled for you).
Step 1
Click the gear icon on the top right of Front and into the Company settings tab, and select App store from the left menu.
Step 2
Select Asana from the list of integrations. Click See details, then click Enable app.
Step 3
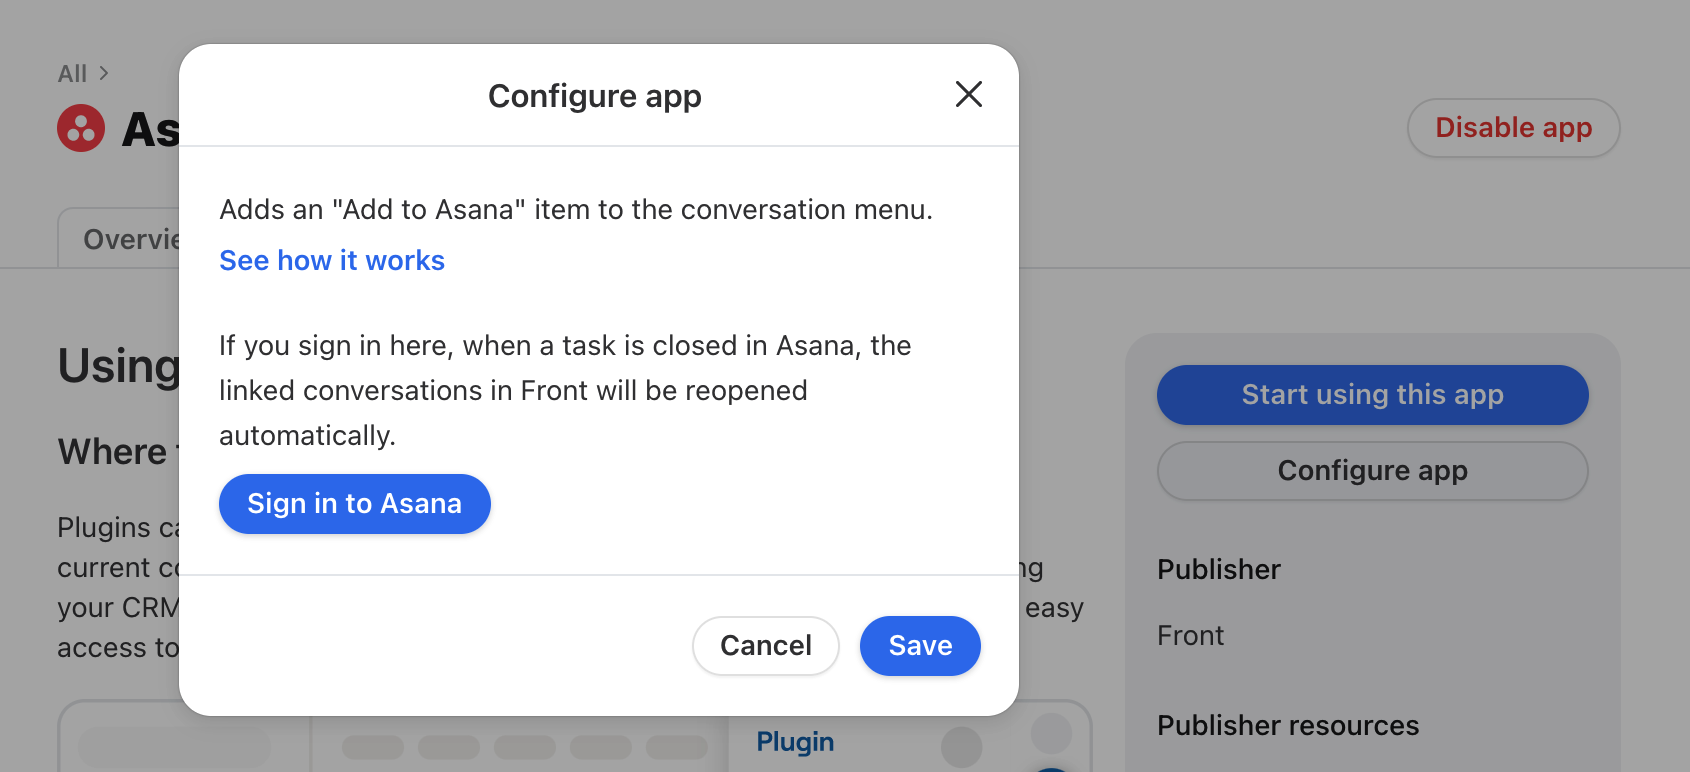
If you'd like to reopen conversations after an Asana task has been closed, click the Sign in to Asana button. You will see a pop-up to sign in with your Asana credentials.
Step 4
Click Save to finish enabling the Asana integration.
End-user steps
Step 1
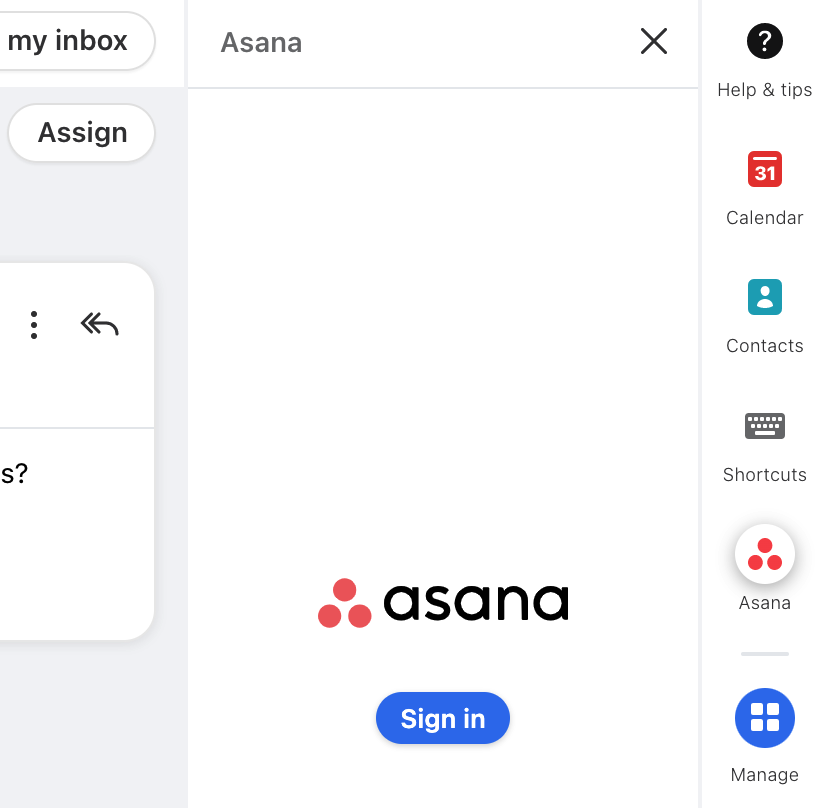
From your Front inbox, find the Asana icon in the right sidebar of Front. If it hasn't been added to your sidebar app switcher yet, click the Manage icon at the bottom of the sidebar and make sure that Asana has been pinned. Once you've pinned the integration, you can drag its icon to position it where you prefer.
When you first open the plugin, you'll see a sign in screen where you'll be asked to enter your Asana credentials.
Step 2
Once you've logged in, click the gear icon in the top right of the plugin, and then set your default workspace, project, and assignee.
Navigate back to the main page, and you'll be ready to proceed with any of the following actions:
Creating new tasks
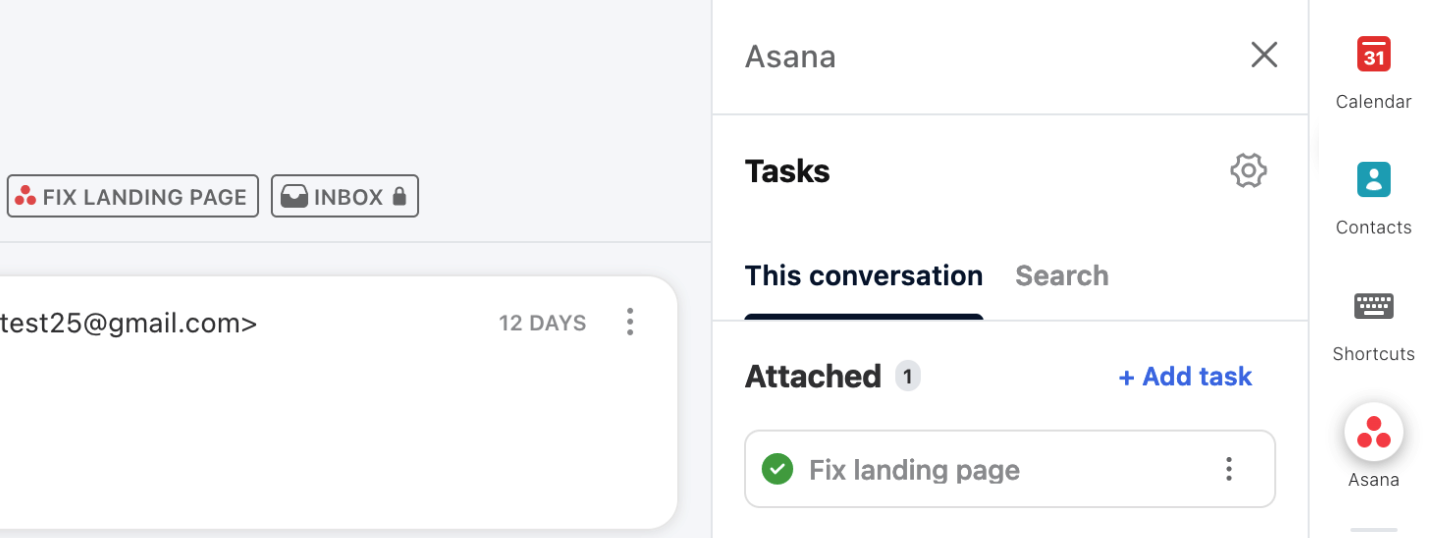
To create a new task, click Add task from the This conversation tab, select the desired Project, and then New task. You'll see a form that includes the fields you configured in your settings. Enter the desired attributes, then click Create.

Browsing and attaching existing tasks
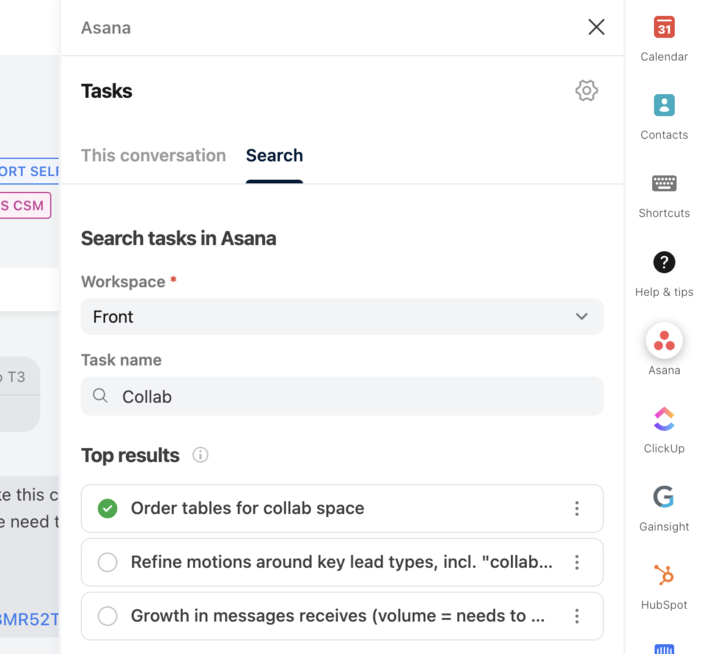
Click the Search tab, select the desired Workspace and Project to search within, type your query and press Enter on your keyboard. You should see a list of all matching results.
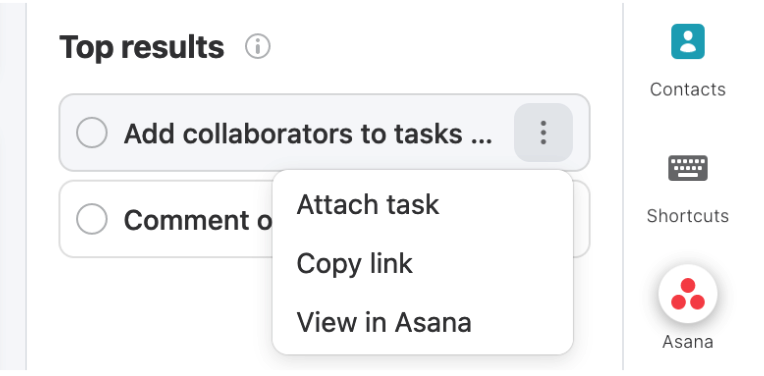
Click on any result to see the full details of the task, or use the three-dot menu to access other options like attaching the task to the current conversation. You can mark a task as complete or incomplete using the checkbox on the left.
Once a task is attached to a conversation, you'll find it in the This conversation tab.
FAQ
Can you create a task without assigning it to a project?
No. You can consider just creating a personal project, like a person to-do list, and add your task there.
Pricing
This feature is available on all plans.