
Overview
Follow these instructions to add your Exchange Server or Online Distribution Group for your team in Front. A distribution group is a free mail option that Microsoft provides to companies who want to easily distribute mail sent to a single address to a group or team of people.
🎥 Check out this video walkthrough to learn more.
Prerequisites
The person who adds the distribution group needs to be a Front admin
You need to have Microsoft Exchange administrator to complete the setup
Helpful information before you get started
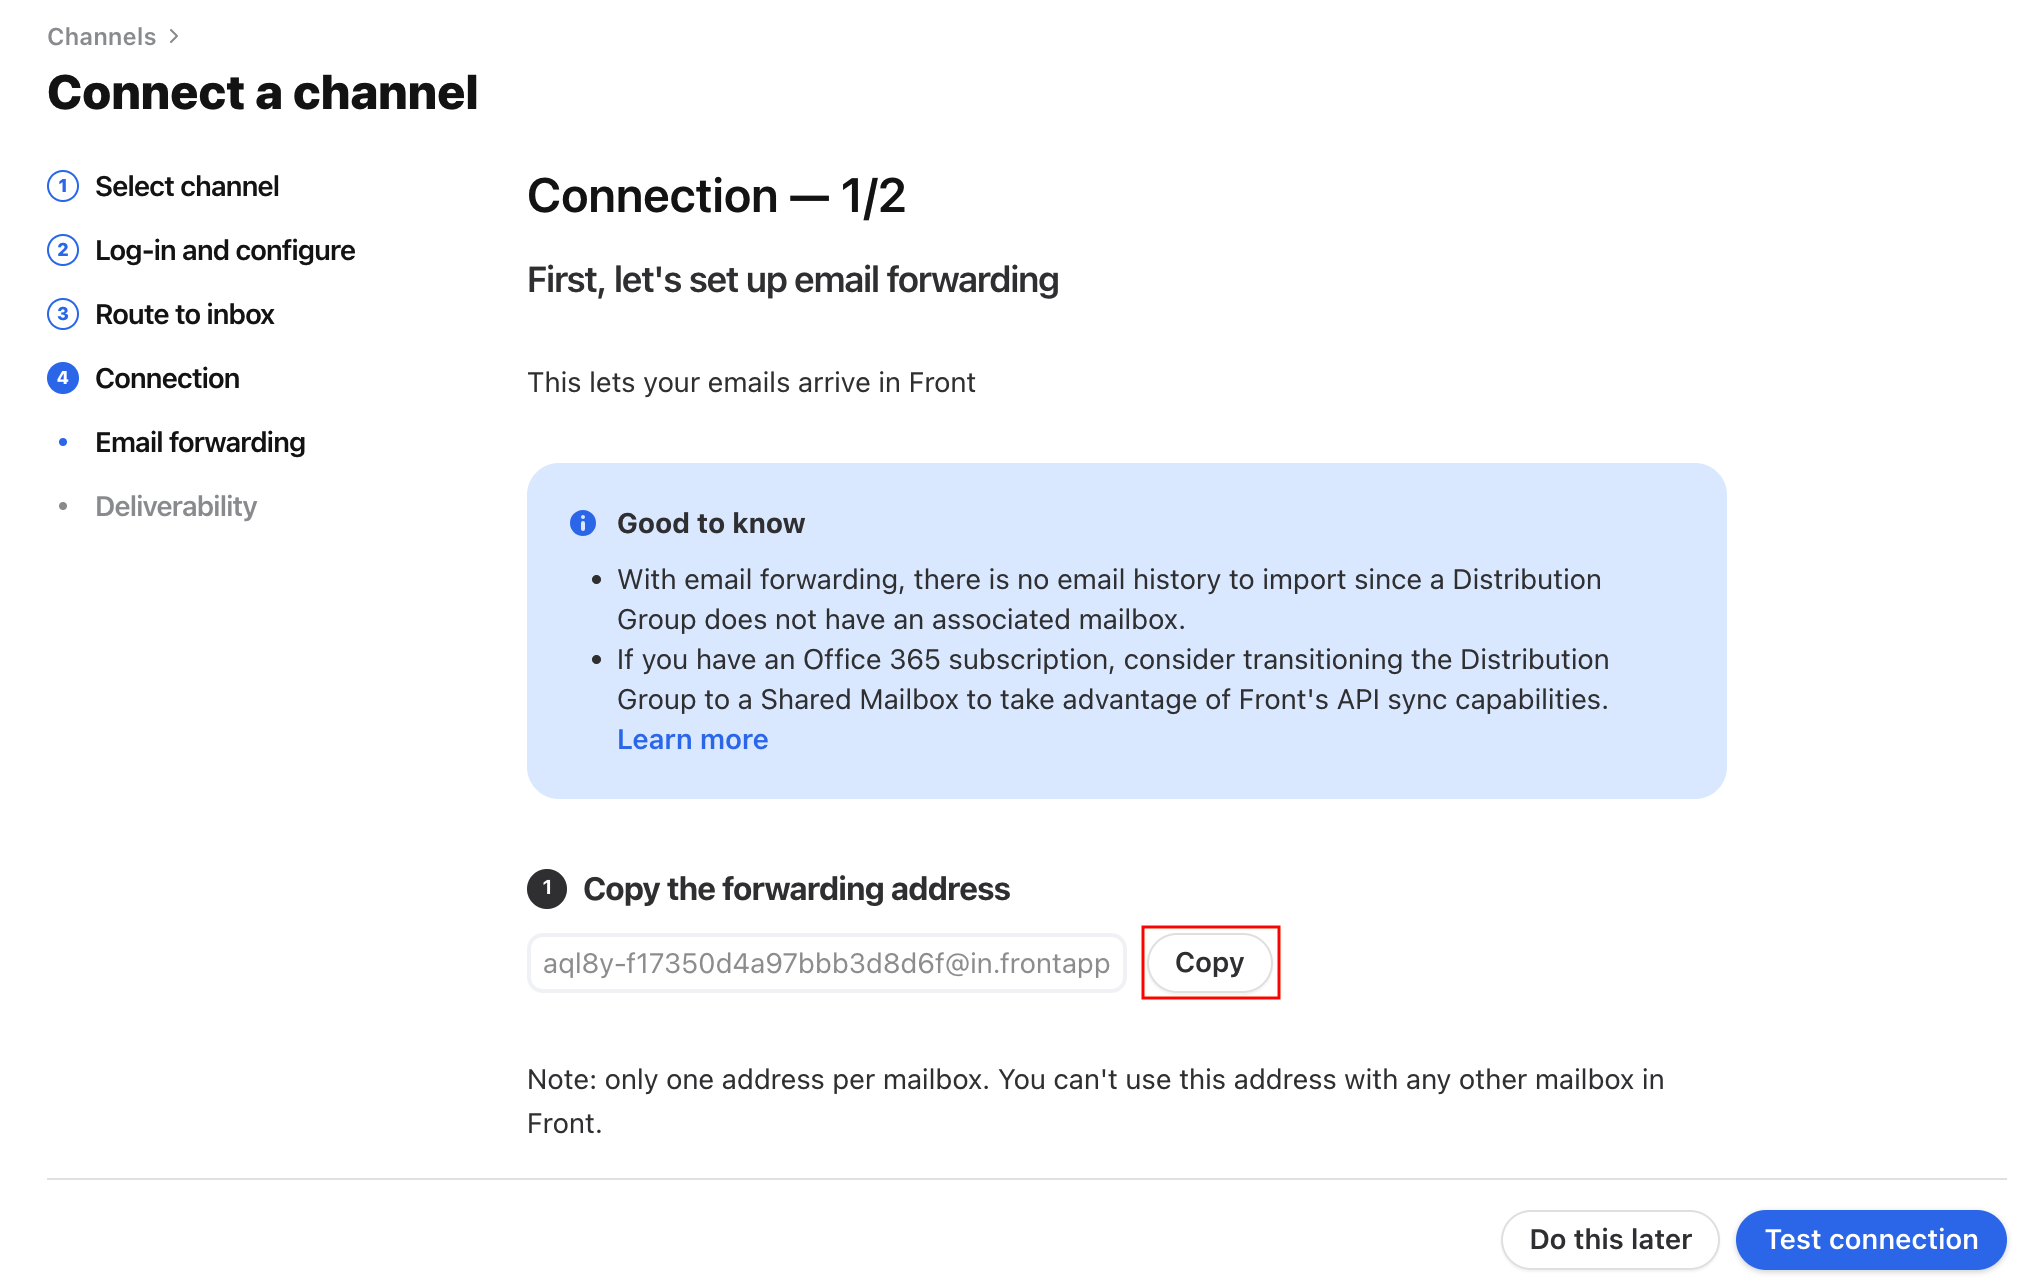
With email forwarding, there is no email history to import since a distribution group does not have an associated mailbox.
If you have an Office 365 subscription, the email history of that distribution group will be within each teammate's user mailbox. Consider having all teammates connect their user mailboxes to Front, which will allow Front to import that history.
Front cannot import email history for user inboxes on Exchange Server.
If you have an Office 365 subscription, consider transitioning the distribution group to a Shared Mailbox to take advantage of Front’s API sync capabilities. More information on how Front works with Shared Mailboxes can be found here.
Instructions
Receive emails with forwarding
Step 1
Click the gear icon on the top right of Front and into the Company settings tab.
Step 2
Click Inboxes in the left menu and create a new shared inbox.
Step 3
Click Channels in the left menu, then click the Connect a channel button.
Step 4
Choose Microsoft from the list, choose whether you are using Office 365 or On-premise Exchange server, and select Distribution Group or Microsoft 365 Group.
Note: If you are adding a Microsoft 365 Groups email to Front, please follow the steps in our How to connect a Microsoft 365 Groups email article, as they differ from the steps to add a distribution list.
Step 5
Enter in the email address to connect as a channel, then click Continue.
Step 6
Select the inbox to connect to your channel, then click Save. All messages from your channel will route to this inbox by default.
Step 7
Copy the Front forwarding address.
Step 8
In your Exchange admin center, create an Exchange contact with that forwarding address and then add the contact as a member the designated Office 365 group. See 1:56-3:45 in this Loom demo for a detailed walkthrough.
You can find more information about how to manage Office 365 groups here.
Step 9
Navigate back to Front and click Test connection to validate the forwarding is set up correctly. If you have trouble validating, please contact us for assistance.
Send emails with custom SMTP
Step 10
Now that we have verified emails can flow into Front, we need to set up a custom SMTP to ensure emails are delivered through your Exchange servers. To do this, you’ll want to go back into your Exchange admin center.
Step 11
Go to Recipients, and select Groups, and find the distribution group you just connected to Front.
Step 12
Click the Settings tab in the distribution group, then click Edit manage delegates. Set up group delegation by selecting an email address for an individual from your team or IT account/license, then grant all permissions (Send as, Send on behalf) to this delegate. We will be using this individual’s user credentials to set up the custom SMTP.
Step 13
Navigate back to Front. In the channel setup page, scroll down to the custom SMTP setting.
Step 14
If you’re using Exchange Online, use the following configuration. Complete the login and password fields using the credentials of the individual selected in Step 11.
Host: smtp.office365.com
Port: 587
Login: User mailbox credential
Password: User mailbox credential
Connect with SSL/TLS encryption: Active
Once you’ve filled everything in, verify the connection works, and click Save.
For Exchange Server, you'll need to ask your Exchange administrator for the host, port and SSL/TLS encryption information.
Send emails with SendGrid
As an alternative to Steps 10-14, you can always send email through Front's third party mail server, SendGrid, and you will not retain a record of your outbound emails on your own server. You will need to set up SPF/DKIM instead of using a custom SMTP. More information about SPF/DKIM can be found here.
Finishing up
Step 15
Once all users from the distribution groups are in Front, remove those users from the distribution group in your Exchange settings. This will ensure emails sent to the distribution group no longer go to each user's individual inbox, instead will be routed into a single shared inbox in Front.
FAQ
Where do sent messages show up in Outlook after custom SMTP is configured?
For Exchange distribution lists, custom SMTP connections are typically configured using a user's credential. Once configured successfully, emails that are sent using that distribution list address will be delivered and stored in that user's Sent box. On the recipient's side, emails will appear as expected - sent from the distribution list address.
For example, let's say I have a distribution list (distro@acme.com) and a user credential (andersen@acme.com). With Front, you will configure a custom SMTP for distro@ using Andersen's credential. Emails sent from distro@ will appear in Andersen's sent folder in Outlook. When a recipient receives the email from distro@, despite the custom SMTP being configured with Andersen's credential, will show from: distro@amce.com.
Custom SMTP vs. SendGrid
You may see better inbox deliverability rates if you send email with the servers you already use, so custom SMTP is generally preferred. Outbound messages will be saved in the mailbox of the Exchange user account used for credentials. Recipients will see emails' sender info populated from the Front teammate's signature as explained here.
Pricing
All plans have access to this feature.