Overview
Admins can invite new users at any time, either one at a time or in batches of up to 150 using a CSV. Admins can also invite guests who have requested invites.
Admins can configure user settings after they have been invited. Or for quicker setup, admins can clone a user's settings or use teammate templates when inviting new teammates.
If you have multiple workspaces, company admins are able to access and invite teammates to any workspace, and workspace admins can invite teammates to their specific workspace.
Invite new teammates individually
Step 1
Click the gear icon on the top right of Front and into the Company settings tab.
Step 2
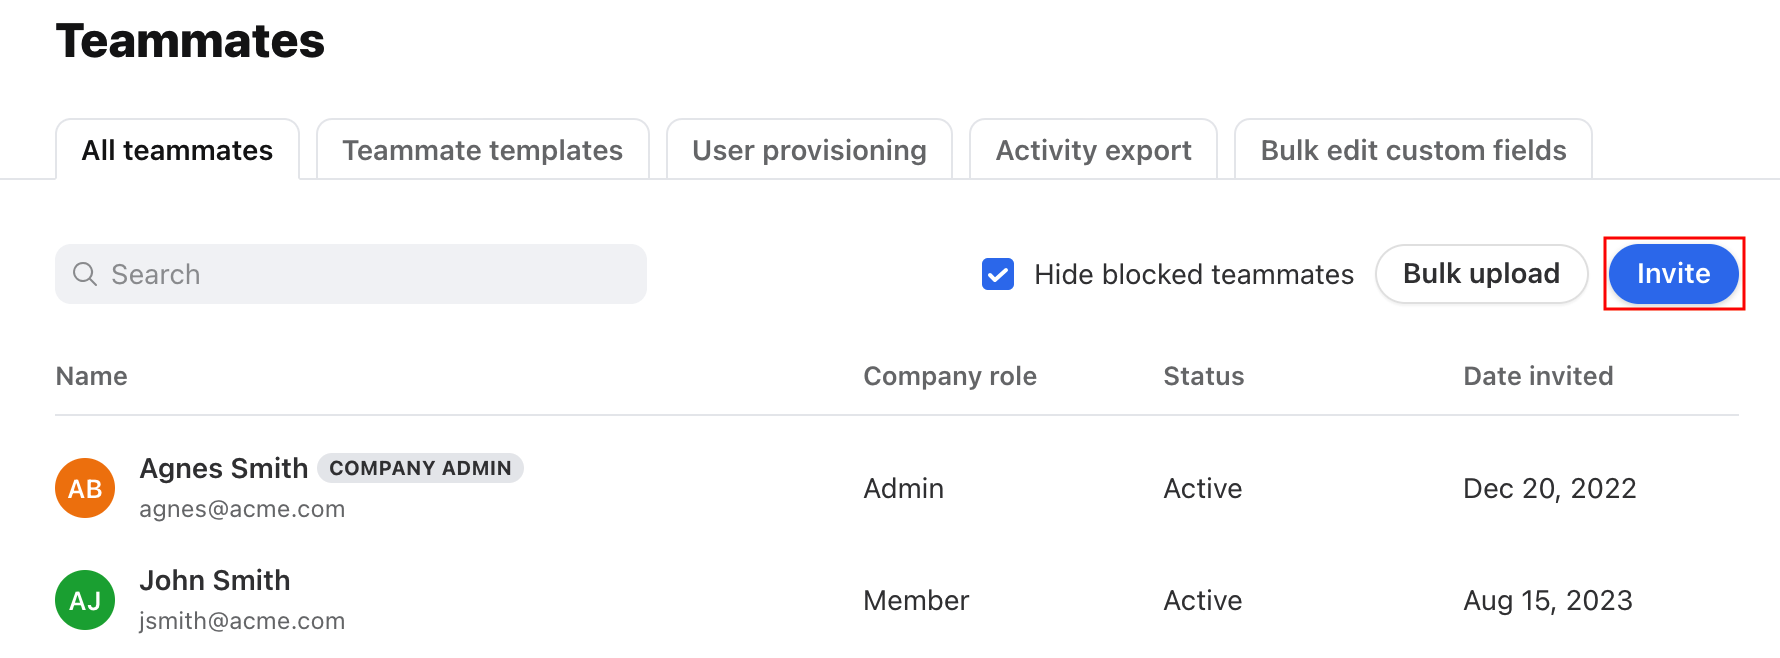
Select Teammates under either the Company section or under the workspace you want to work with, then click Invite.
Step 3
Enter the email addresses for any teammates you want to invite, then click Continue.

Step 4
Set up the roles and permissions for your new teammate(s). You can configure the following settings:
Add to teammate groups (optional): Add teammate(s) to a teammate group
Clone settings from an existing teammate (optional): Copy the settings from a teammate or teammate template and apply them to the new teammate
Set as company admin (optional): Toggle on if the teammate needs company admin access
Select teammate’s role for each workspace: Select the level of access the teammate should have - no access, admin, member, or a custom role. If you have multiple workspaces, you can select one role per workspace.

Step 5
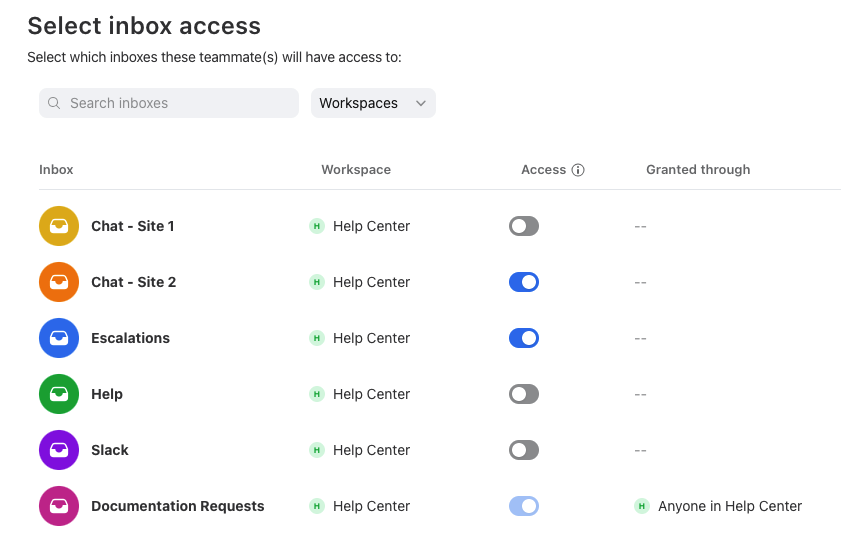
Select the inboxes your teammate(s) will have access to, then click Continue.
Step 6
Choose which shared inboxes will be shown in the user's sidebar by following the steps below to customize their sidebar display.
Step 7
Click Add teammate to invite your new teammate(s) to Front.
Step 8
Your teammate will then receive an email to complete their setup process. They will need to click the link in the email and walk through the setup prompts.
Note: Ensure that your teammates do not sign up for their own trial on our website, as that will create a brand new company for them, and you will not be able to add the same users to your company. If a user accidentally creates their own trial, please contact us and we will remove their incorrect account.
Invite multiple teammates using a CSV
Template
You can export a template using the Download template option on the Bulk upload page.
File formatting
Column headings and naming conventions are critical for a successful import. The file may only contain the exact fields listed below, in any order:
Column heading | Example value | Description |
jsmith@acme.com | [Required] Email address of the teammate you want to invite | |
firstname | John | Teammate first name |
lastname | Smith | Teammate last name |
admin | TRUE | Enter true or false to indicate whether the teammate should be a company administrator. This input will be ignored if you are cloning from a teammate, as the status of the teammate will be reused. |
clonedteammate | tea_1234 | Teammate permissions to be cloned. This must match either the email address of the teammate or lowercase template ID (e.g. tea_mj12) of the teammate template you want to clone. |
teammate group ids | cir_1, cir_4 | Provide the teammate group IDs for the teammate groups the teammate should be added to. Click the Teammate Groups CSV option on the page to download a list of your teammate groups and their IDs. |
Import instructions
Step 1
Click the gear icon on the top right of Front and into the Company settings tab. Select Teammates under either the Company section or under the workspace you want to work with.
Step 2
Click Bulk upload.
Step 3
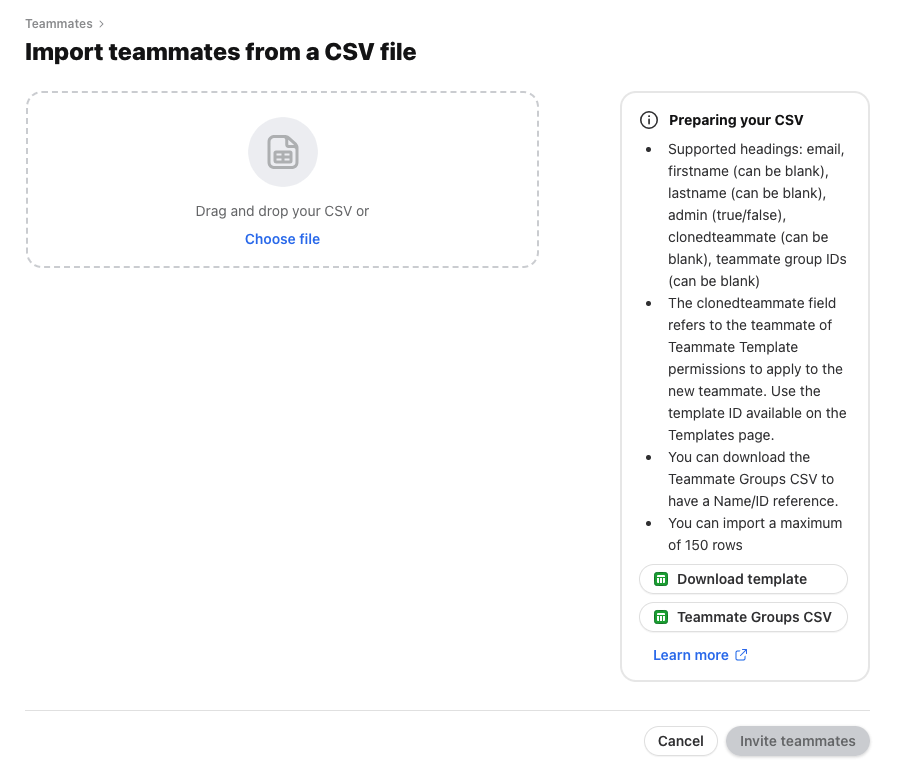
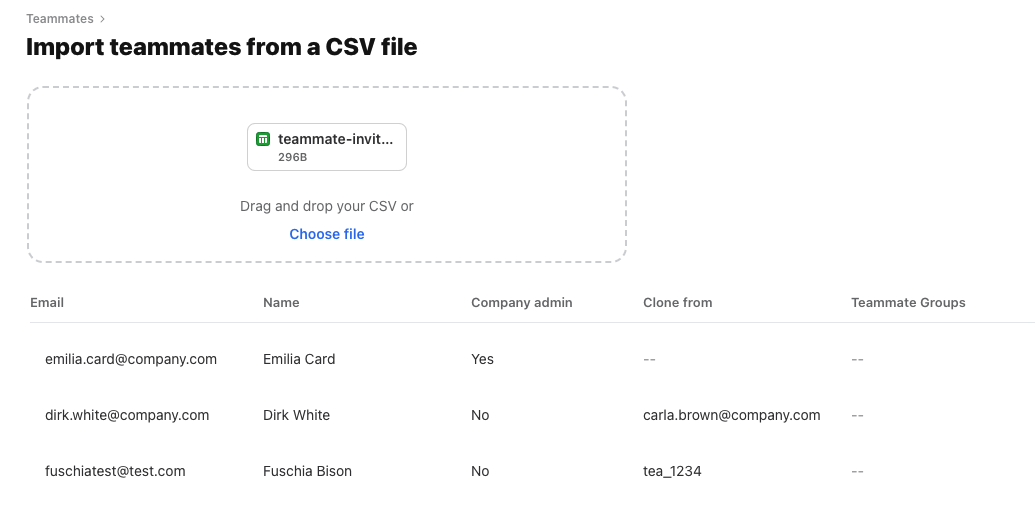
Click Choose file or drag and drop your file from your computer into this section. You can invite up to 150 teammates at once using this method.
Step 4
You will see a summary of all invited teammates. If a field is incorrect, we will display an error message.
Step 5
Click Invite teammates. Your invited teammates will receive emails to complete their set up. They will need to click the link in the email and walk through the setup prompts.
Note: Ensure that your teammates do not sign up for their own trial on our website, as that will create a brand new company for them, and you will not be able to add the same users to your company. If a user accidentally creates their own trial, please contact us and we will remove their incorrect account.
Customize teammates' sidebars
You can choose which inboxes will be shown in the user's left sidebar. This way, your new teammates will already see the inboxes they'll be working with when they first log in. 🙌
You can customize new teammates' sidebars in the invitation flow, or can customize sidebars in a teammate template. At this time, you cannot customize the sidebar of an existing teammate.
Step 1
For new teammates
When inviting a new teammate, navigate to the Configure sidebar step. Click Show/hide inboxes to add or remove them from the sidebar, then click and drag to re-order them.
For teammate templates
In the Teammates section of your settings, go to Teammate templates and create a new template, or select an existing template. Click on Sidebar in the left menu.
⚠️ Adding shared tags and teammates to your sidebar is a legacy feature. Front accounts created after Jan 26, 2023 use Views.
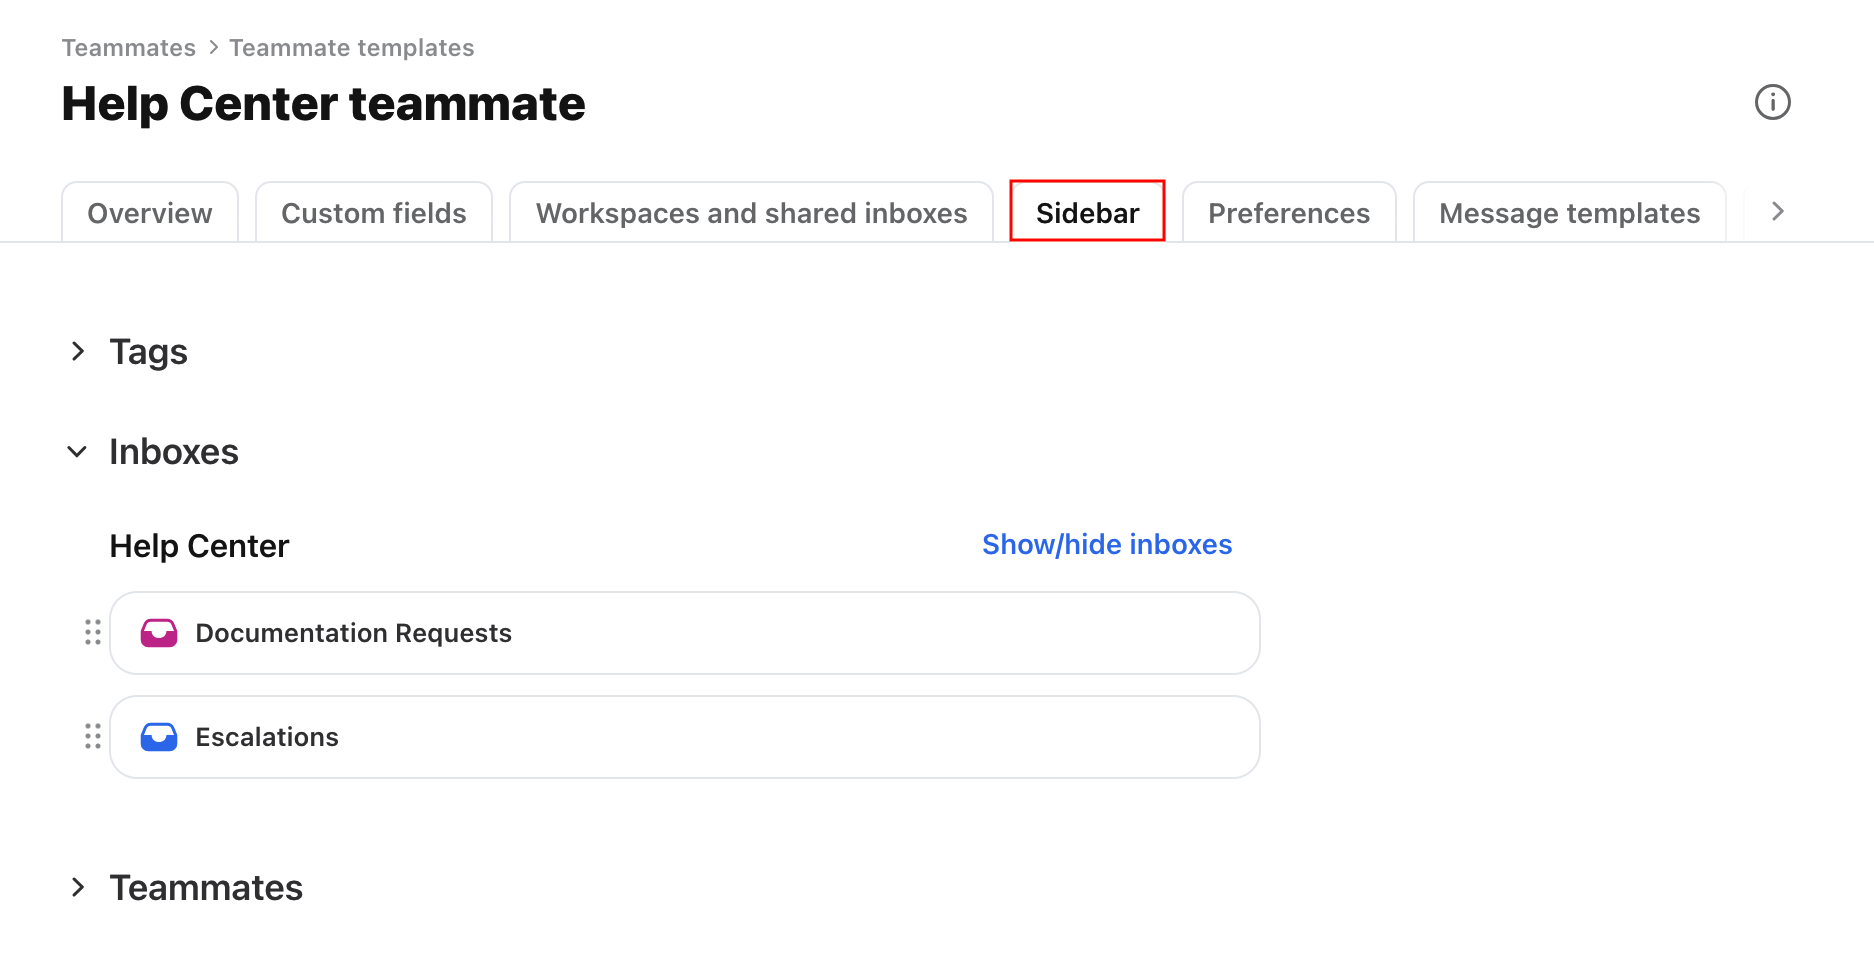
Step 2
Choose which shared inboxes will be shown in the teammate's sidebar by clicking Show/hide inboxes and selecting items from the dropdown menus.

Step 3
You can arrange the order of inboxes by clicking and dragging.